Overview

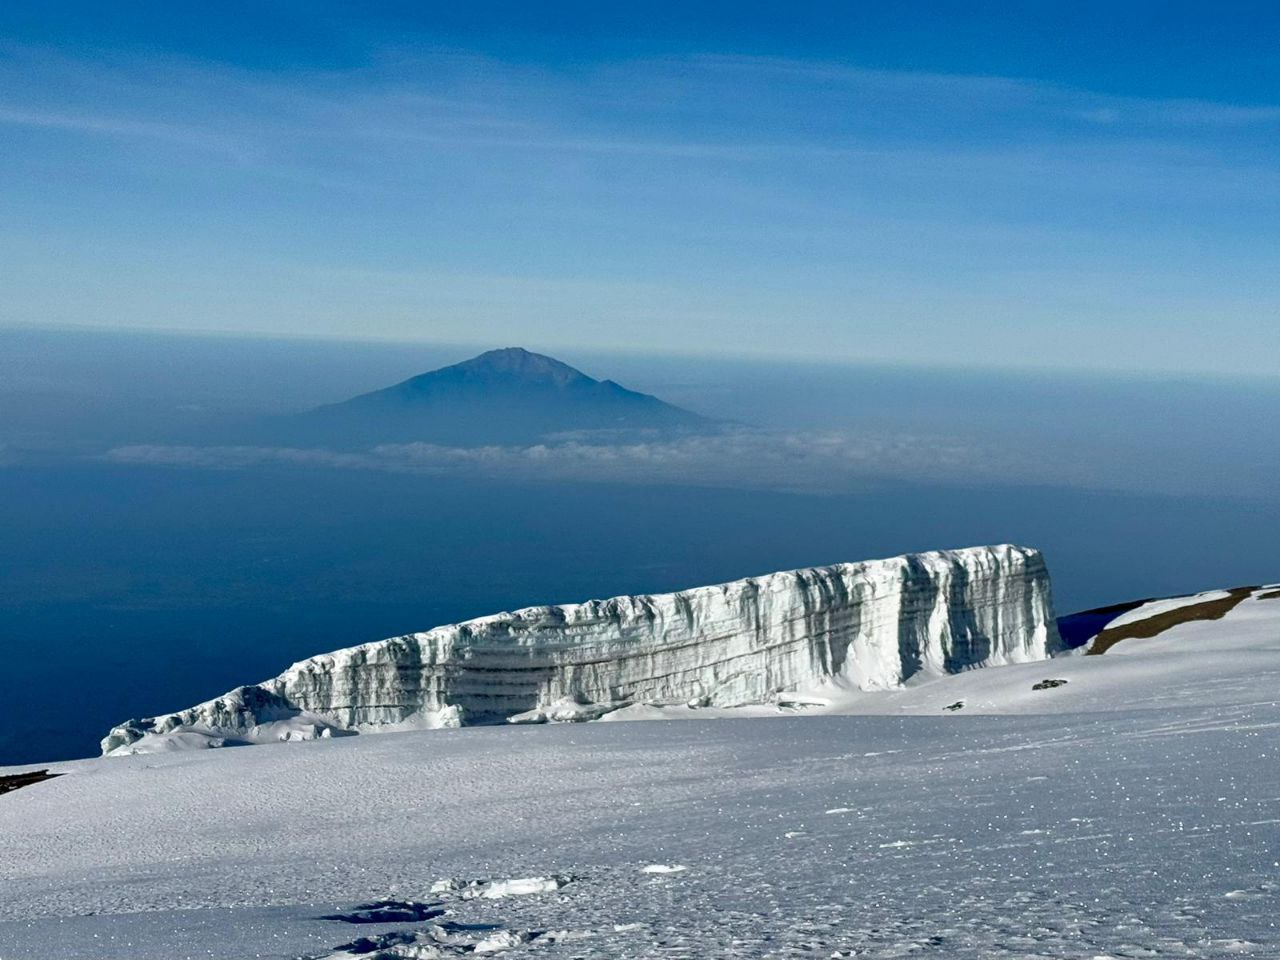
The Lemosho Route is one of the most scenic and well-balanced trails to the summit of Mount Kilimanjaro, offering breathtaking views, excellent acclimatization, and a high success rate. Starting from the Londorossi Gate, the route takes you through lush rainforests, moorlands, and alpine deserts before reaching the glacier-capped Uhuru Peak (5,895m/19,341ft). With a typical duration of 7 days, it provides a gradual ascent, reducing the risk of altitude sickness and increasing the likelihood of reaching the top. Unlike the busier Machame or Marangu routes, Lemosho is less crowded, offering a more peaceful and immersive trekking experience. Wildlife sightings, including colobus monkeys and antelopes, add to the adventure in the early stages. This route is ideal for first-time climbers and those seeking both a challenge and an unforgettable journey to Africa’s highest peak.

Lemosho route 7- days Itinerary

Arrive in Tanzania

As you arrive at Kilimanjaro International Airport {JRO),our Dedicated Driver and I will be eagerly anticipating your Arrival at Airport , ready to extend a warm and heartfelt gratitude/Welcome. From there,a seamless and comfortable transfer service will whisk you away to the Luxury Hotel in Moshi. Upon arrival at the Hotel after refreshment,we will kindly need to double check your Mountain equipment and gives you a pre-trekking briefing.
Day 1

Lemosho Glades (2385m) to Big Tree Camp (2780m)

You will be picked up at your hotel at around 08:00 am and transferred to the Lemosho gate on the western side of Kilimanjaro. After the registration process, you will still start our climb steadily through the forests of the Lemosho glades to reach Big Tree camp, where you will be spending the night. Distance covered: 7km / 4.3 mi Approx. Time taken: 4 hours Meals: Breakfast, Lunch & Dinner Included
Day 2

Day 2 Big Tree Camp (2780m) to Shira 2 Camp (3900m)

Today, you will cover a lot of ground as you trek across a plateau of grassy moorland and heather, scattered with volcanic rock formations. We will trek through Shira 1 Camp from where there are often views of Kibo Peak floating on the clouds as we head towards our destination which is Shira 2.. We gain a reasonable amount of altitude as we head towards Shira 1 and parts of the route are fairly steep. As you proceed towards Shira 2 you will get the chance to view the Northern Ice fields from the western side of the mountain with some unusual views of Kibo. Our steady climb across the moorland of the Shira Plateau will help with acclimatization and we enjoy great panoramic views. Distance covered: 16.5km / 10
Day 3

Shira 2 Camp (3900m) to Barranco Camp (3960m)

Your trek starts with an ascent with far-reaching panoramic views, walking into the climatic zone of the upland desert and on the lava ridges beneath the glaciers of the Western Breach. You will reach the distinct pinnacle of the Lava Tower (4640 m), our high point for the day and a great place to enjoy your lunch. In the afternoon, we make a steep descent to our camp for the night, located at the base of the Great Barranco Valley (3960 m), sheltered by towering cliffs but with extensive views of the plains below. Distance covered: 10km / 6.2 miApprox. Time taken: 7 hrs Meals: Breakfast, Lunch & Dinner Included
Day 4

Barranco Camp (3960m) to Karanga Camp (3963m)

Our day starts by descending into the start of the Great Barranco, a huge ravine. We then exit steeply, up the Great Barranco Wall, which divides us from the south-eastern slopes of Kibo. It’s a climb over rock, not technical but long and tiring. Passing underneath the Heim and Kerstin glaciers, we head towards the Karanga valley. From here we have a steep climb up from Karanga valley to our night’s camp at Karanga camp, set at 3963m. For those feeling strong, we will go for a mid-afternoon acclimatization trek up to around 4200m before descending back to camp for the night.Distance covered: 5.5km / 3.4 mi Approx. Time taken: 5 hours Meals: Breakfast, Lunch & Dinner Included
Day 5

Karanga Camp (3963) to Barafu Camp (4640m)

After a good night’s rest and breakfast, we set off on our walk to Barafu camp at 4640m. The climb will take us across desolate scree slopes with no vegetation around us at all. It’s a tough, steep walk made more difficult by the altitude. On arriving at camp we eat and spend the afternoon resting as we prepare for a long night and day ahead. It is important to keep hydrated and warm. We have an early dinner and then try to get some sleep as we will be getting up between 11 pm and 12 pm to start the climb to the summit.Distance covered: 3km / 1.9 mi Approx. Time taken: 3 hours Meals: Breakfast, Lunch & Dinner Included
Day 6

Barafu Camp (4640m) to UHURU PEAK (5895m) & down to Millennium Camp (3790m)

We start at around midnight and walk steeply upwards to the summit glaciers. We will be climbing scree for 4 to 5 hours,, but gain incredible height over a short distance. The views are spectacular. We should be on the crater rim at Stella Point (5739m) as the first rays of the sun hit us. Spectacular ice cliffs within the crater surround us and the views to jagged Mawenzi peak and Beyond is breathtaking. Another hour’s walking takes us to the summit, Uhuru Peak (5895m). We begin our descent by returning to Stella Point and then descending on the scree slope and track back to Barafu Camp for breakfast, before finally heading down to Millennium Camp for a long, well-earned rest.
Day 7

Trek Millennium Camp (3790m) to Mweka Gate (1630m)

A gentle trek takes us down through the rain forest to Mweka Gate, where we complete park formalities and receive certificates, which you can hang up with pride! We are then met by our vehicles and return to the hotel in Moshi, where you can treat yourself to a welcome shower (and a cold beer or two!) before our big celebration. Overnight at the Weru Weru River Lodge (or alternative)Distance covered: 12.1km / 7. 5 mi Approx. Time taken: 6 hours Meals: Breakfast & Lunch

Include

  • Full Transportation (Airport pick-up and return day, as well as transport to the National Park and back to hotel)

  • Accommodations: B/B on the first day and F/B on the last day back from the mountain

  • All National Park fees

  • Oxygen cylinder, mask, and regulator

  • Food in the Mountain

  • Trip Tent

  • Oximeter readings

  • Professional Guide

  • Basic Sleeping Mattress

  • Emergency rescue

  • First Aid

Exclude

  • All personal Mountain equipment (gear)

  • Flying doctor {emergency evacuation membership}

  • Bites / Snacks and a 3-litre water bottle as well as a bladder 

  • Duffle bag and Sleeping bag 

  • Walking poles as well as Shoe Cramps

  • Other personal activities 
  • Sleeping bag, Summit Trouser and Summit Jacket 

Book This Tour