Overview

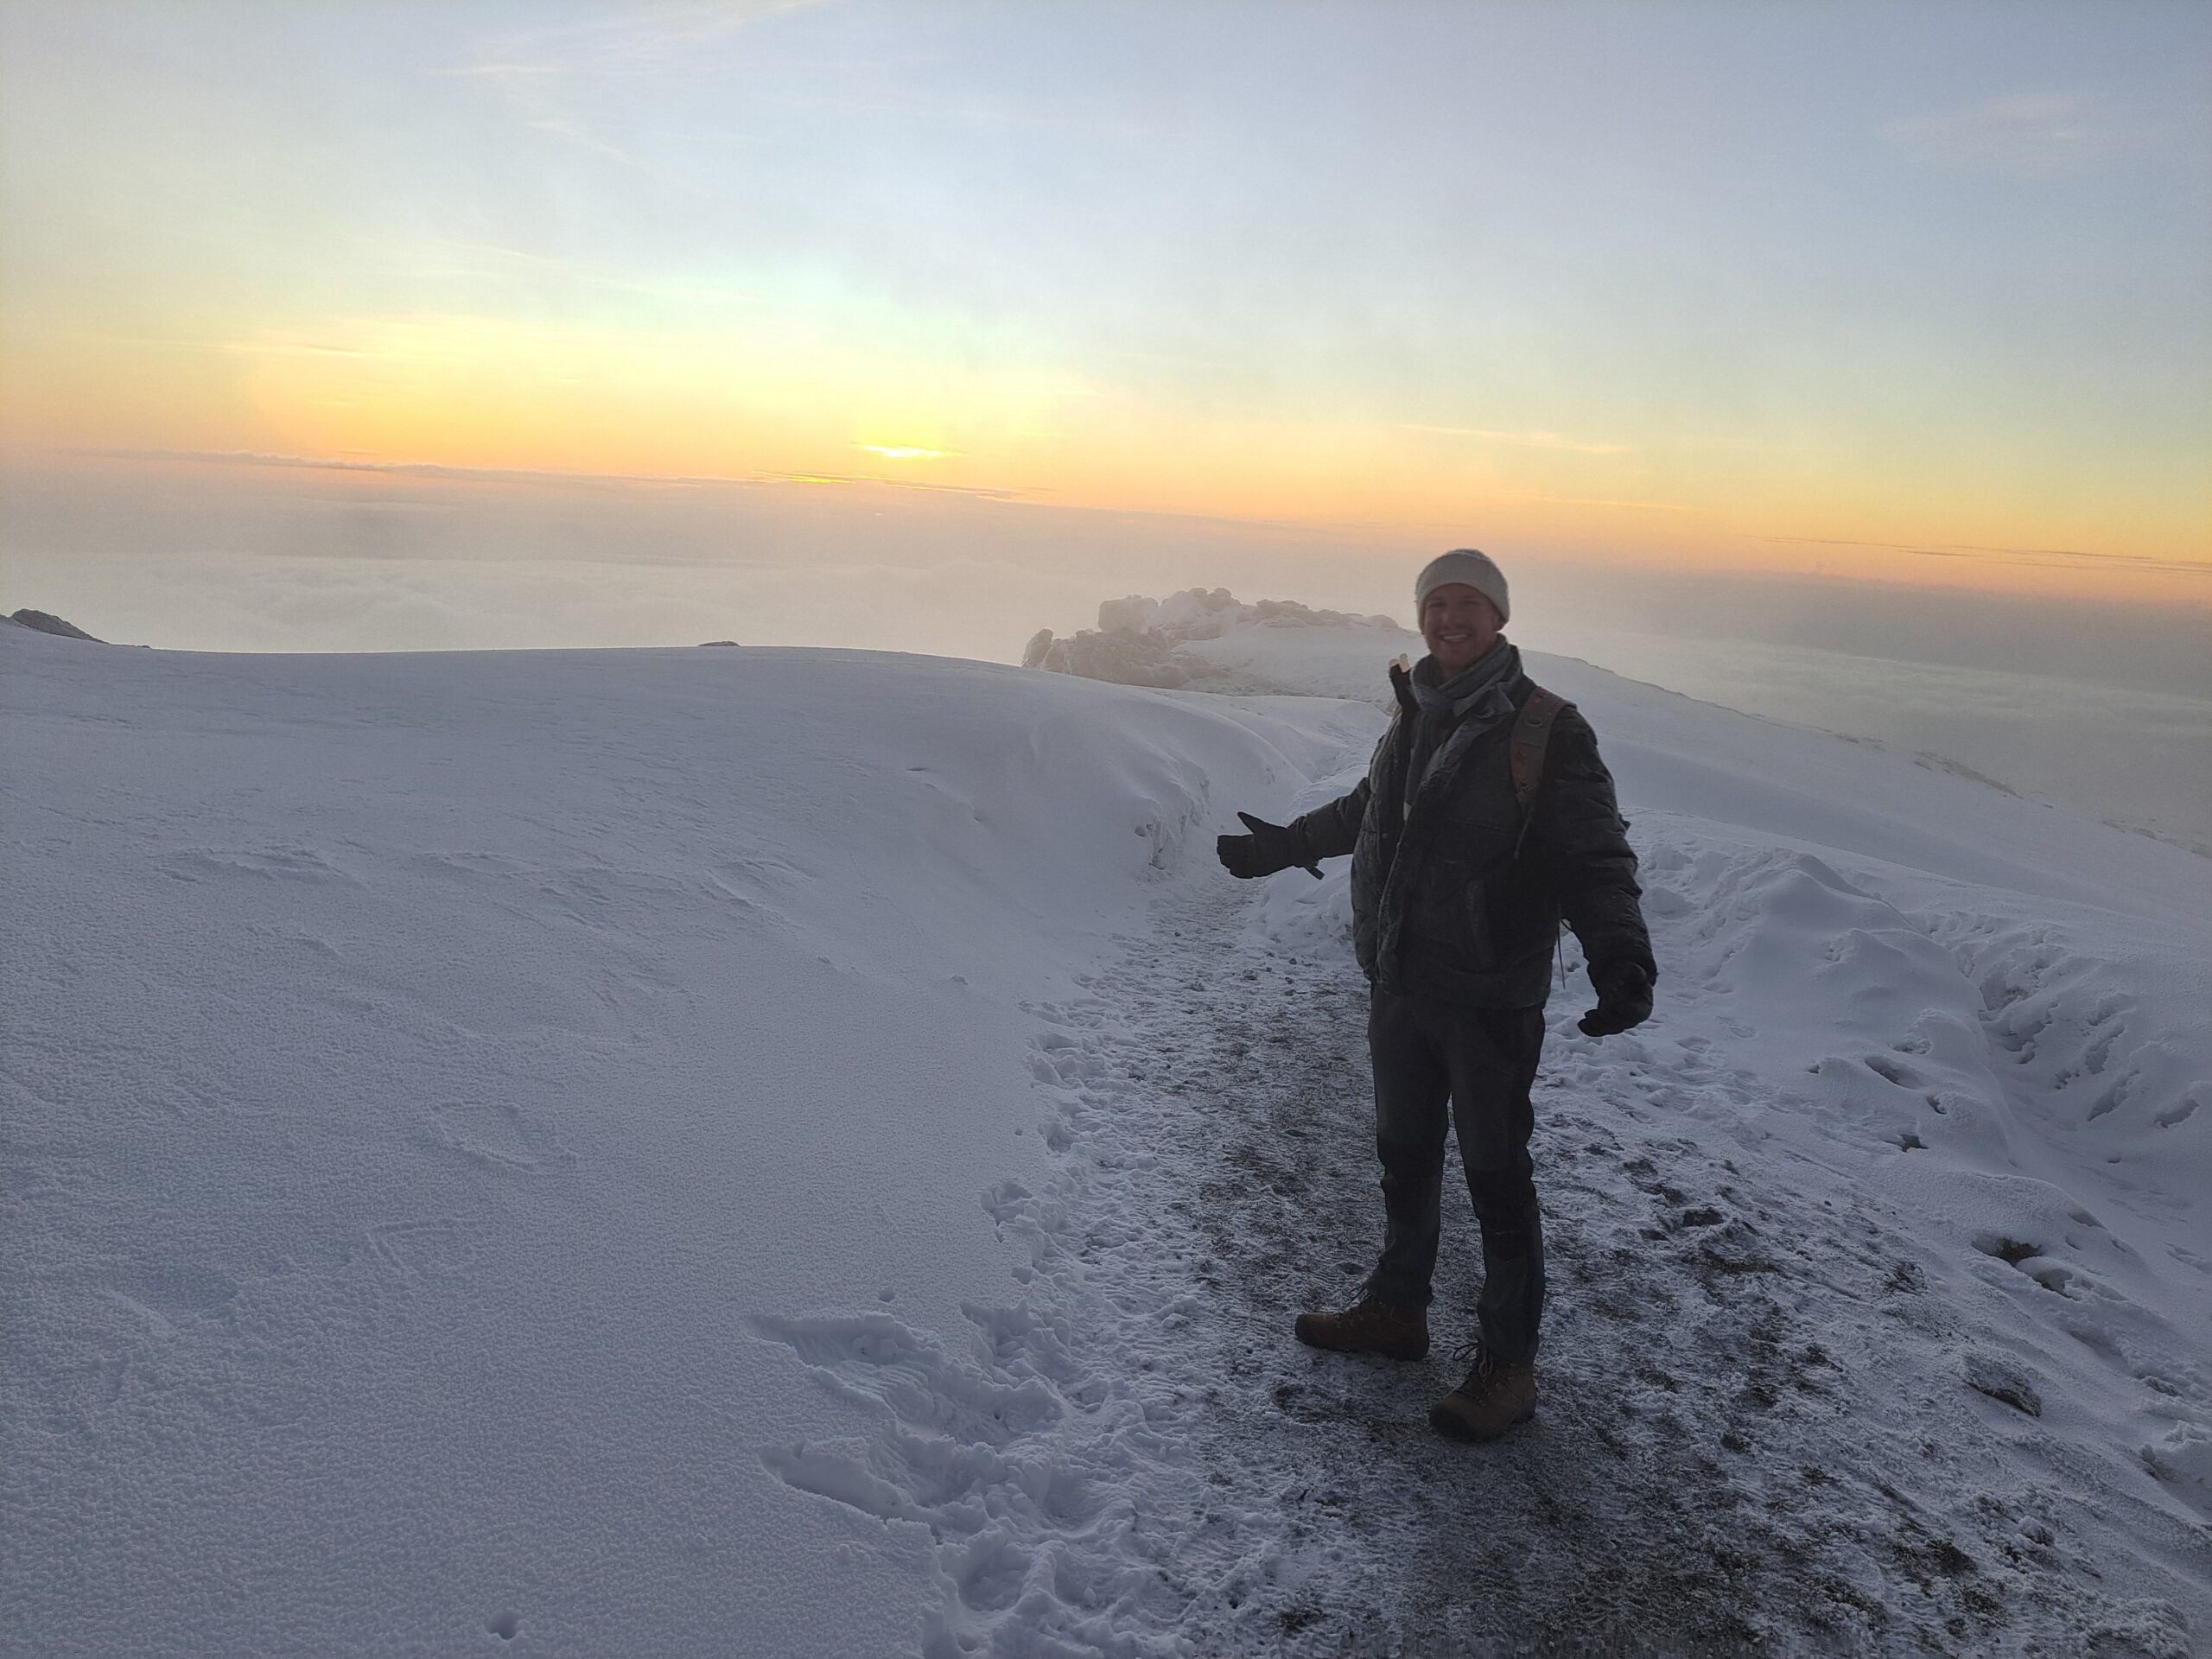
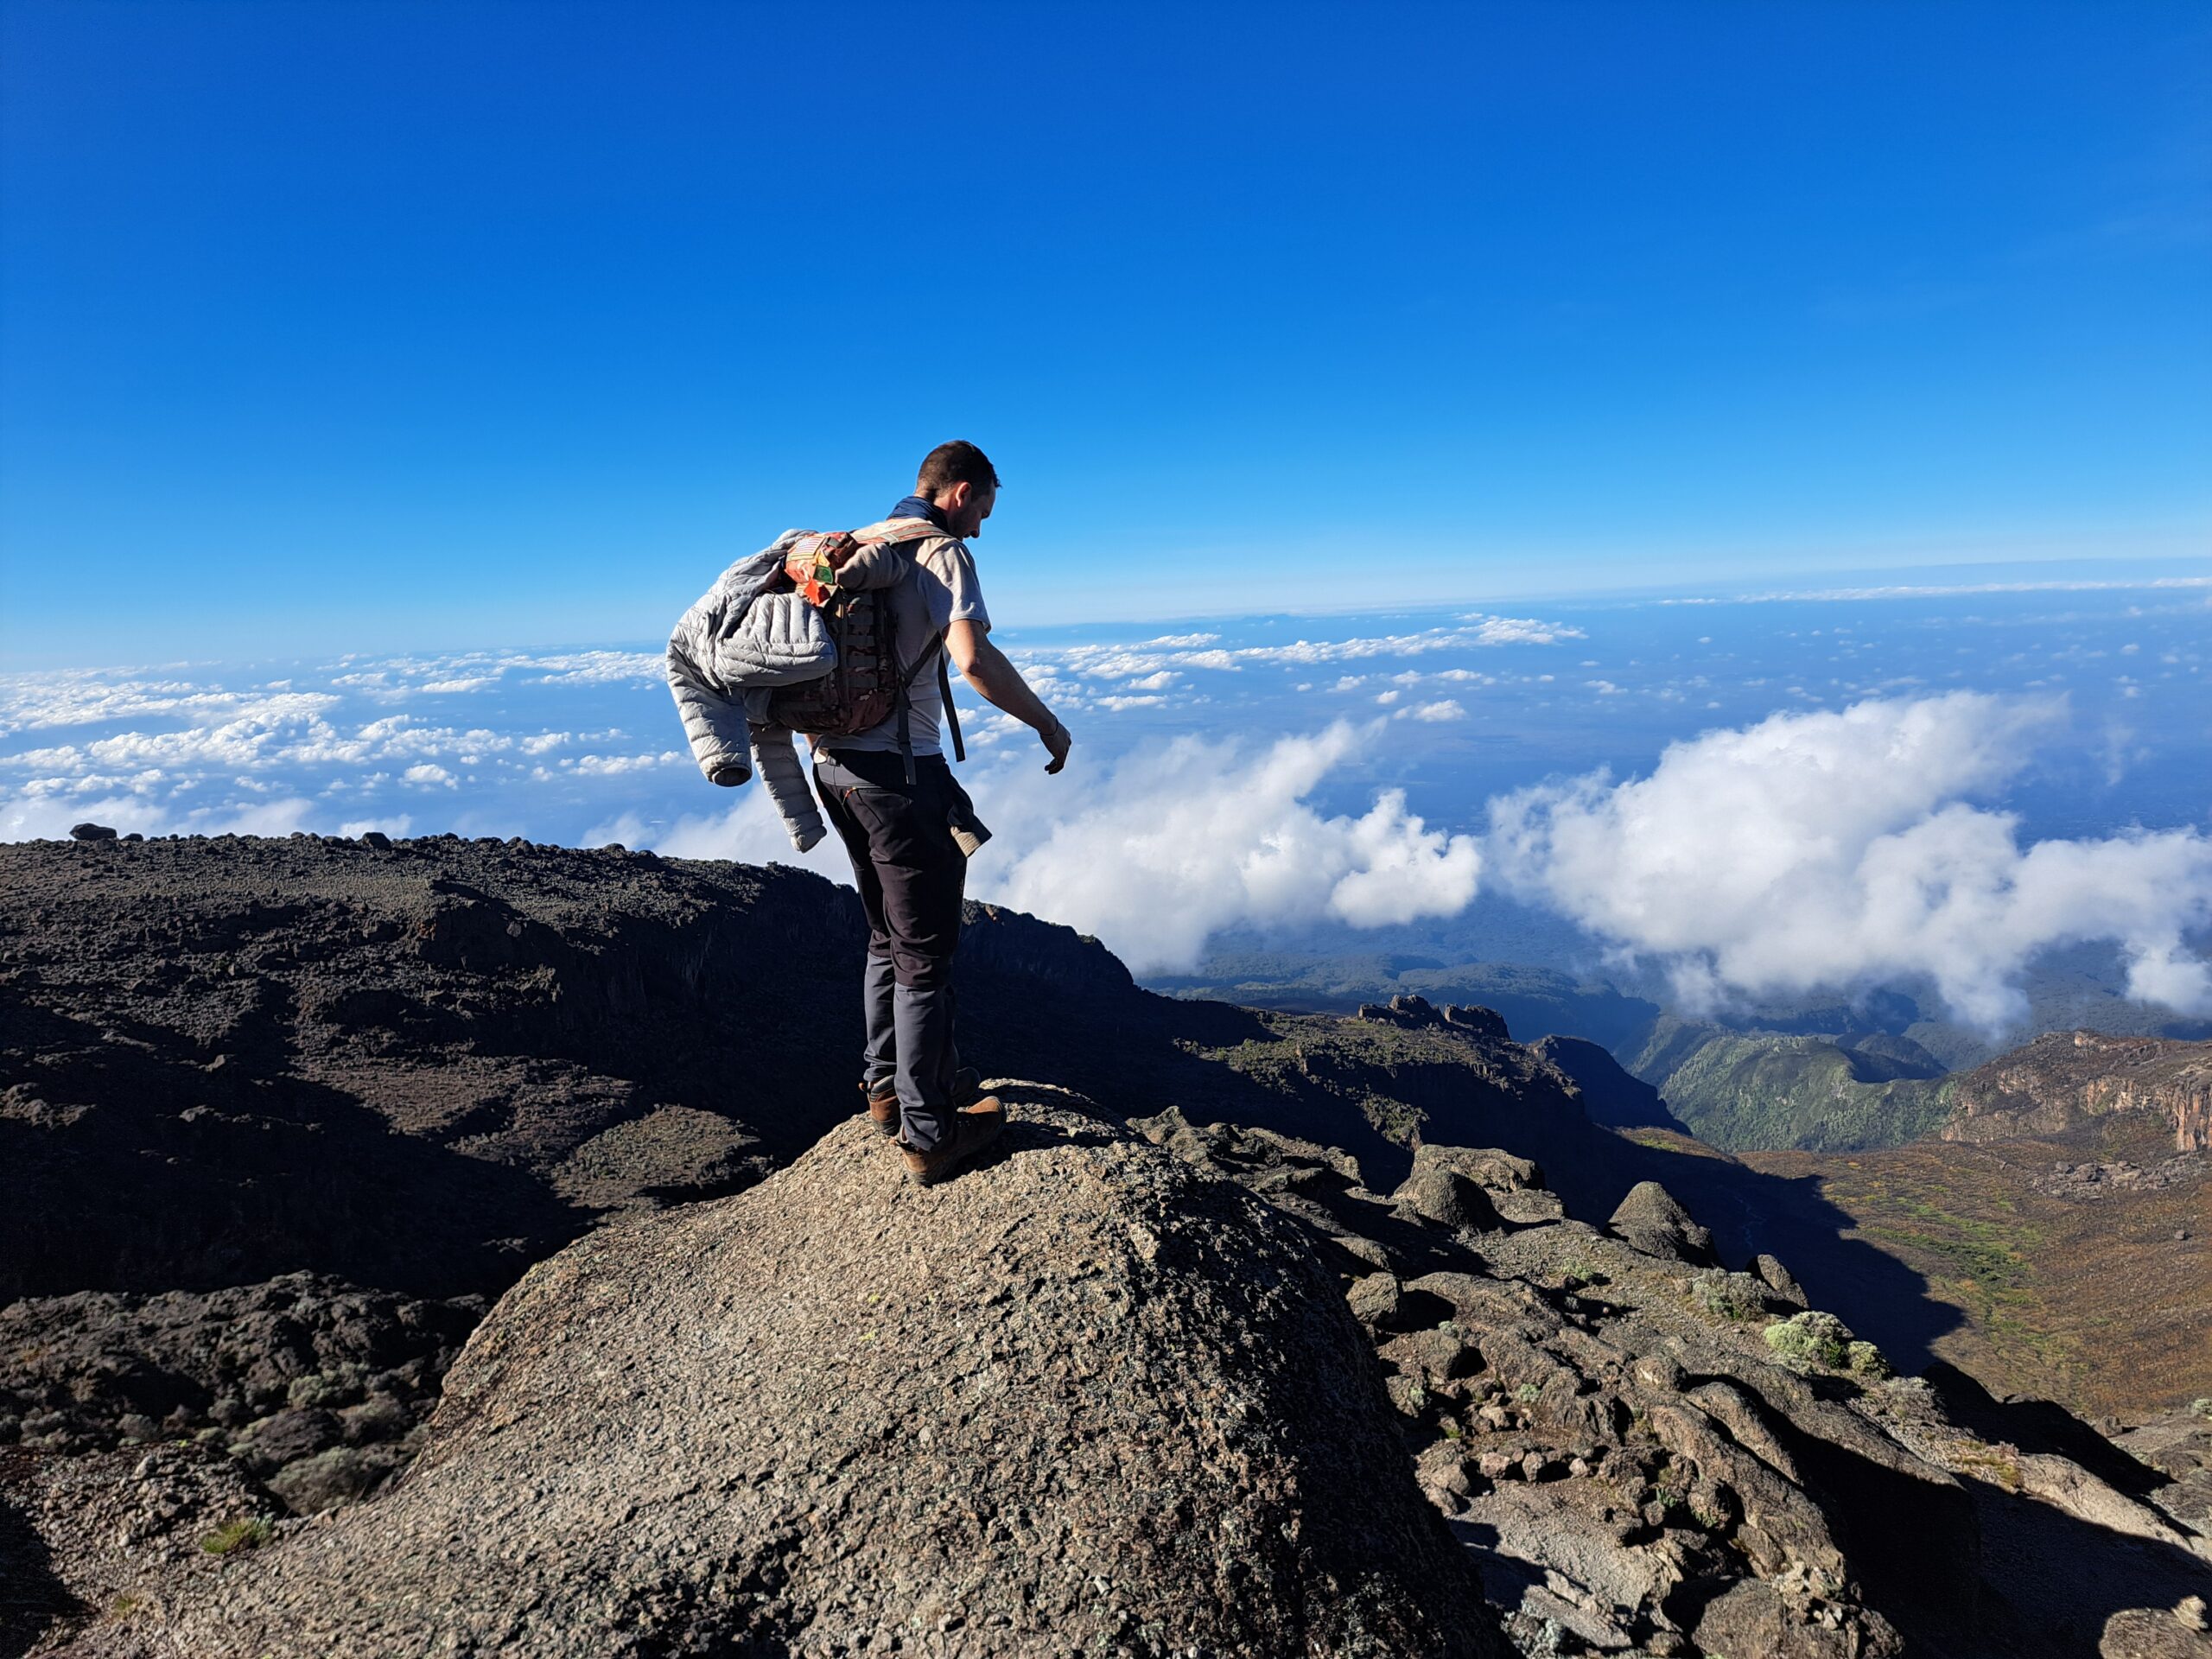
Possibly the most scenic route to the summit, Machame offers multiple paths to its highest point and back. Along the way, hikers emerge onto high-alpine deserts, where breathtaking views of ice fields and Mount Kilimanjaro’s peak await. Known as the “Whiskey Route” due to its challenging nature, this trail takes you through lush forests before ascending a ridge that leads into the moorlands of the Shira Plateau. The route showcases stunning landscapes beneath the glaciated precipices of the southern ice fields, culminating in the final ascent from Barafu Camp to the summit.

Machame route 7- days Itinerary

Arrival

Upon your arrival at Kilimanjaro International Airport (JRO), I will personally meet you and accompany you on a one-hour drive to your hotel in Moshi Town. There, you’ll receive a detailed orientation about your upcoming trek. You can choose to relax at the hotel or explore the charming streets of Moshi for the rest of the day. During the briefing, I will go over all the trek details and conduct a gear check to ensure you have everything you need. If anything is missing, I will guide you on renting the necessary equipment from local rental shops.
Day 1

Moshi to Machame Gate to Machame Camp

Upon your arrival at Kilimanjaro International Airport (JRO), I will personally meet you and accompany you on a one-hour drive to your hotel in Moshi Town. There, you’ll receive a detailed orientation about your upcoming trek. You can choose to relax at the hotel or explore the charming streets of Moshi for the rest of the day. During the briefing, I will go over all the trek details and conduct a gear check to ensure you have everything you need. If anything is missing, I will guide you on renting the necessary equipment from local rental shops.
Day 2

Machame Camp to Shira camp

In the morning, your hike transitions from the lush forest to the heather and moorland zone. Leaving the glades of the rainforest, we continue on an ascending path that leads up a steep, rocky ridge. As we reach the Shira Plateau, the landscape opens up to heather and vast moorlands, offering breathtaking views of the surrounding terrain. We then cross a large river gorge before arriving at Shira Cave Camp, where we settle for the night.Trek Details: Elevation: 2,850m to 3,750m Distance: 5km / 3mi Hiking Time: 4-5 hours Habitat: Moorland Meals Provided: Breakfast, Lunch, and Dinner
Day 3

Shira Camp to Barranco camp via Lava tower

From the Shira Plateau, we continue eastward, ascending a ridge and passing the junction that leads toward Kibo Peak. As we progress, our route shifts southeast toward the Lava Tower, famously known as the “Shark’s Tooth” at an elevation of 4,650m (15,250ft).Shortly after reaching Lava Tower, we encounter another junction leading to the Arrow Glacier before descending to Barranco Camp. Although we finish the day at nearly the same elevation as we started, this section is crucial for acclimatization, helping your body adjust to the high altitude in preparation for summit day.Trek Details: Elevation: 3,750m to 4,650m (Lava Tower), then down to 3,950m (Barranco Camp) Distance: 10km / 6mi Hiking Time: 6-7 hours Habitat: Alpine Desert to Moorland Meals Provided: Breakfast, Lunch, and Dinner
Day 4

Barranco camp to Karanga camp

Today’s trek begins with the daunting Barranco Wall—a thrilling but manageable climb. While it may look intimidating at first, you’ll soon realize it’s more fun than difficult. Some sections require careful footing and handholds, but our experienced guides will be there to assist you. Once at the top, take a moment to soak in the breathtaking views.From there, the trail follows a scenic mountain ridge, leading down into the Karanga Valley before ascending again. After lunch, we arrive at Karanga Camp, where you’ll enjoy incredible views of Kibo’s southern glaciers and the towering summit of Kilimanjaro. This shorter trekking day is designed to help with acclimatization, improving your chances for a successful summit.Trek Details: Elevation: 3,950m to 4,035m Distance: 5km / 3mi Hiking Time: 4-5 hours Habitat: Alpine Desert Meals Provided: Breakfast, Lunch, and Dinner
Day 5

Karanga Camp to Barafu Camp

After breakfast, we leave Karanga Camp (3,959m) and continue upward toward Barafu Camp (4,550m). Along the way, we intersect with the Mweka Route, the trail we will use for descent after reaching the summit.After about an hour of hiking, we arrive at Barafu Hut, the final camp before the summit attempt. This is the last water stop for porters, as there is no accessible water source at Barafu Camp. The name “Barafu” means “ice” in Swahili, reflecting the camp’s cold, rocky, and exposed location. Strong winds and rough terrain make it essential to familiarize yourself with the campsite before nightfall.An early dinner will be served so you can rest and recharge before the midnight summit push. Your guide will provide a detailed briefing on what to expect and how to prepare for the final ascent. Afterward, it’s time to get some sleep—summit day is just hours away!Trek Details: Elevation: 4,035m to 4,550m Distance: 4km / 2.5mi Hiking Time: 4-5 hours Habitat: Alpine Desert Meals Provided: Breakfast, Lunch, and Dinner
Day 6

Barafu Camp to Summit to Mweka Camp

Your summit day begins just after midnight! Your climbing team will wake you with a hot cup of tea and a light snack to fuel your energy. Dressed warmly and with your headlamp lighting the way, you’ll begin the steep ascent in complete darkness.For the next 5-7 hours, you’ll hike slowly and steadily toward Stella Point (5,756m), reaching it just before dawn. From here, the final two-hour push to Uhuru Peak (5,895m) is intense, but the reward is unmatched—standing on the Roof of Africa, watching a breathtaking sunrise over the vast landscapes below. Congratulations! You’ve made it!After celebrating, taking photos, and soaking in the panoramic views, you’ll begin your descent back to Barafu Camp, where a well-deserved rest and lunch await. After regaining some energy, the journey continues downward to Mweka Camp (3,100m) for an overnight stay.Trek Details: Elevation: 4,700m (Barafu Camp) → 5,895m (Uhuru Peak) → 3,100m (Mweka Camp) Distance: 17km / 10.5mi Hiking Time: 10-14 hours (total) Habitat: Arctic (Uhuru Peak) to Alpine Desert to Rainforest Meals Provided: Breakfast, Lunch, and Dinner
Day 7

Mweka Camp to Mweka Gate to Moshi

With Uhuru Peak a glorious memory far behind you, you’ll begin your hike back to civilization on a full stomach. The trail can be slippery, so watch your knees! You’ll have time to take in the misty cloud forest and, if you’re lucky, spot a Colobus monkey. Upon arriving at Mweka Gate, you’ll receive your summit certificate. Don’t forget to tip your guide, cook, and porters. It’s time for celebration!Elevation: 3090m to 1680m Distance: 10km / 6mi Hiking Time: 3-4 hours Habitat: Montane Forest Meals: Breakfast, Lunch

Include

  • Full Transportation (Airport pick-up and return day, as well as transport to the National Park and back to hotel)

  • Accommodations: B/B on the first day and F/B on the last day back from the mountain

  • All National Park fees

  • Oxygen cylinder, mask, and regulator

  • Food in the Mountain

  • Trip Tent

  • Oximeter readings

  • Professional Guide

  • Basic Sleeping Mattress

  • Emergency rescue

  • First Aid

Exclude

  • All personal Mountain equipment (gear)

  • Flying doctor {emergency evacuation membership}

  • Bites / Snacks and a 3-litre water bottle as well as a bladder 

  • Duffle bag and Sleeping bag 

  • Walking poles as well as Shoe Cramps

  • Other personal activities 
  • Sleeping bag, Summit Trouser and Summit Jacket 

Book This Tour